I want to thank the readers of the Forum for sticking with it through this summer school version of the FootID Pro tutorial. The process of prescribing custom foot orthotics can be simple and straightforward in many, if not most, cases, or can be complicated and require a high level of expertise in other cases. The FootID Pro app has something to offer for both the “keep it simple” advocates, as well as the “dot all the Is and cross all the Ts” types. In other words, one can choose to prescribe a custom foot orthotic with just a few clicks of a touchscreen, or can quickly dial in a very sophisticated device with multiple features and accommodations to a very high level of specification. The choice is up to the practitioner. These past weeks, we have gone through the entire configurator, column by column, and field by field, and hopefully by now, many of you are quite familiar with all the features it contains. If any aspect of the app is still unclear, please review the forum post that pertains to that particular section of the app or contact your support person at KevinRoot Medical. As a matter of review, we will now summarize the process of ordering custom foot orthotics through the FootID Pro app, including the use of the configurator.

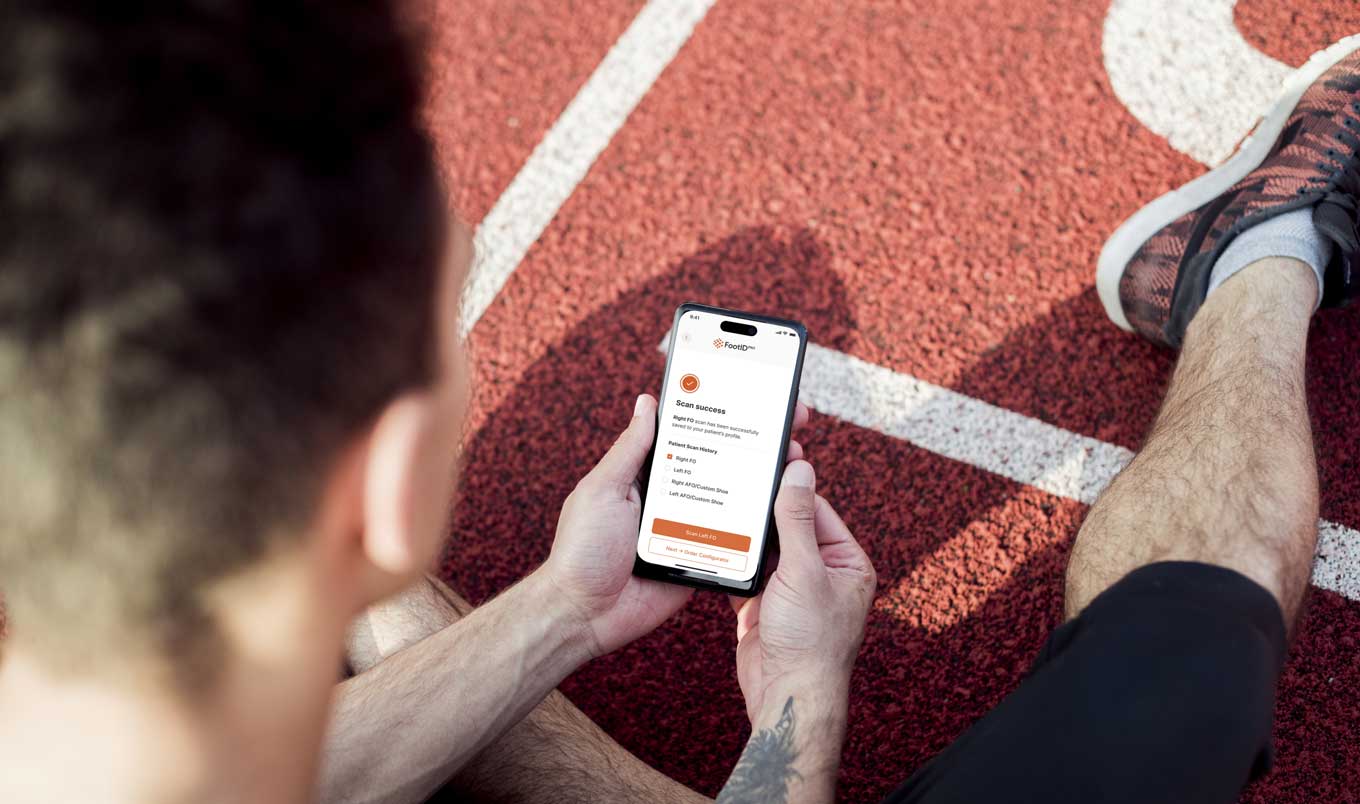
You can initiate a new order for a custom foot orthotic either on your FootID Pro app on your phone, or through the FootID Pro webpage on your computer. The process is similar either way. You can either select an existing patient or order from a previous order on the FootID Pro app, or start a new order by selecting either the “Start Building your orthotic” or the “New Order” buttons on the home page. Next, you will need to fill out the patient demographics for a new patient, or find the name of the previous patient. Once this is done, you need to select ”Foot Model” and choose between four options, either a new or previous scan, a previous device, a digital file, or a physical mold or foam box. If you choose “New FootID Scan” and then choose “Foot” in the next screen, it will direct you to the Foot ID scanner if you are on your phone, or to a QR code if you are on your computer. If you have existing scans or other models you will be able to upload additional information at this point, such as photos, videos or other information.
The next screen is “Select Orthotic”. At this point, you can either select “Most Popular” which allows you to choose between "Performance", Control”, and “Dress” configurations and move on to the configurator from there. You can otherwise choose “All Orthotics” which will lead you to the various active dress, pathology, therapeutic, UCBL, sport and military preconfigured models. If you have favorite configurations you like to use frequently they can be stored in the “My Templates” section here.
The next step in the process is “The Configurator”. All the various options for orthotic devices are contained here. You can scroll through the options either horizontally or vertically. These options are categorized as “Congruency”, “Frame", “Frame Options”, “Posting”, “Extensions”, “Pads and Cushions” and “Covering”. Default configurations for each model will be depicted by an orange check mark in a particular field. If you are using the webpage on a computer, you will also see a summary of that model listed on the left of the screen with optional configurations listed in blue. If the default configurations are acceptable, you may move on the next screen, which is order confirmation. If you prefer further customization at this time, you may do so in any field you choose. For example, if you want to add a met pad to the left orthotic only it is simple to do by finding the met pad field under “Pads and Cushions” and adding it to the order. Once you have completed the order, please take a moment to review it carefully. You have the option to save it as a draft to be submitted later, or create it as a “My Template” for future similar orders.You also have the ability to communicate special instructions here should you wish. If the order is complete, and you are satisfied it is correct, then the order can be placed now.
This process is simple and intuitive, once you become familiar with it. I would suggest creating a routine with your staff on how this process works best within your clinic and your available personnel. You can control the entire process yourself, if you so choose, or perhaps you can have an assistant or scribe input the order on a computer or tablet simultaneously while you scan the patient's feet with the Iphone. Many possible scenarios to create an efficient workflow and error prevention exist, the key is repetition and familiarity
The tech team at KevinRoot Medical is constantly working on upgrading and expanding the technology used to bring efficiency and accuracy to the custom foot orthotic manufacturing process. We are here to help guide you through this process, and myself and others are here at your disposal if you need clinical assistance, or answers to your questions. I hope you have found this series of forum posts beneficial, as we all “Help Patients Move Better”.


